The Best Lemon Cherry Preserves (With Canning Instructions)
Sweet, tart, and bursting with fresh cherry flavor, these homemade lemon cherry preserves are the perfect way to capture summer in a jar. Made with ripe cherries, sugar, and a hint of lemon, this preserve is simple to make and perfect for canning to enjoy all year long.
This post may contain affiliate links. Please read our disclosure policy.

There’s nothing quite like capturing the taste of summer in a jar, and these Homemade Lemon Cherry Preserves do just that. Sweet cherries are simmered down with sugar, fresh lemon peel, and a splash of bottled lemon juice for brightness. The result? A glossy, ruby-red preserve that’s the perfect mix of sweet and tart. Spread it on fresh bread, swirl it into yogurt, or spoon it over ice cream, this recipe is one you’ll want to make year after year.
And the best part? I’ll walk you through how to can cherry preserves safely at home, so you can enjoy them long after cherry season is over.
If you’re new to canning, be sure to read my guide on pressure canning vs water bath canning so you know which method is safe for preserving different foods.
Why I Love This Recipe
- Fresh, from-scratch flavor – No store-bought jam can compare to homemade preserves made with ripe cherries.
- Simple ingredients – Just cherries, sugar, lemon juice, and lemon peel. No added pectin needed!
- Perfect for canning – Learn how to safely water bath can these preserves for a shelf-stable pantry staple.
- Versatile – Spread it, bake with it, or give it as a thoughtful homemade gift.
Ingredients You’ll Need
For this recipe you’ll need:
- 4.5 pounds fresh cherries, pitted
- 6 cups granulated sugar
- 1/3 cup bottled lemon juice + 1 tablespoon
- 2 tablespoons grated lemon peel
How to Make Homemade Lemon Cherry Preserves
1. Prepare Your Cherries
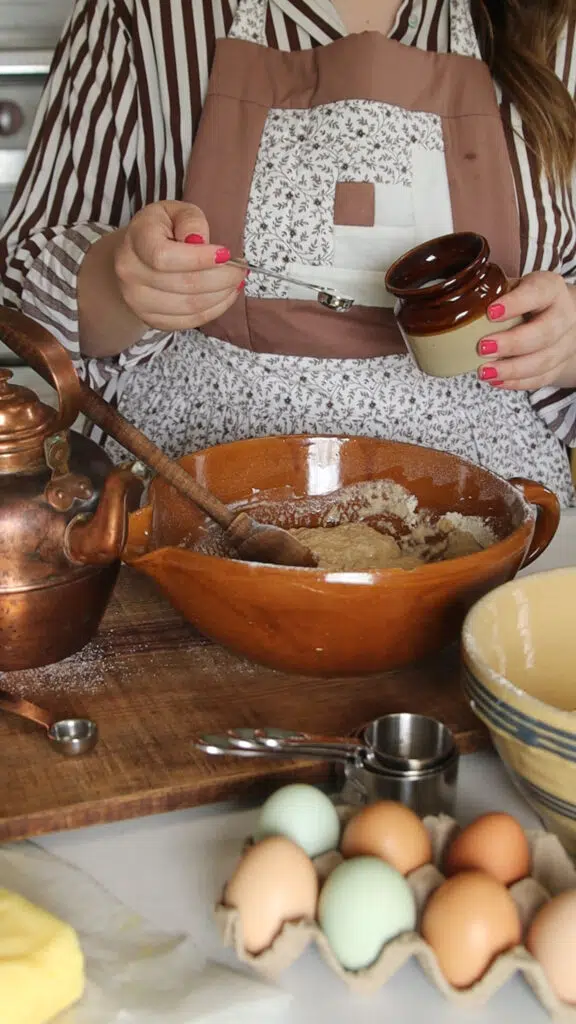
Wash and pit the cherries. A cherry pitter makes this step much faster, but you can also do it with a paring knife if needed.


2. Combine Ingredients
In a large, heavy-bottomed stockpot, add cherries, sugar, bottled lemon juice, and lemon peel. Stir well to combine.

3. Cook the Preserves
Bring the mixture to a boil over medium-high heat, stirring often to prevent sticking. Reduce heat and simmer until the cherries soften and the mixture thickens, about 30–40 minutes. Use an immersion blender to blend the cherries until it reaches your desired consistency.


4. Test for Doneness
You can test the preserves by placing a spoonful on a chilled plate. If it wrinkles when you push it with your finger, it’s ready.
5. Ladle into Jars
Carefully ladle the hot preserves into warm, sterilized canning jars, leaving 1/4 inch of headspace. Wipe the rims clean, then place lids and bands on top.
6. Process in a Water Bath
Process jars in a boiling water bath canner for 10 minutes (adjusting for altitude as needed). Once finished, remove the jars and let them cool on a towel undisturbed for 12–24 hours.
7. Store & Enjoy
Check lids for a proper seal before storing. Properly sealed jars can be kept in a cool, dark place for up to 12–18 months. Open jars should be refrigerated and enjoyed within a few weeks.
Tips for Making the Best Cherry Preserves
- Use bottled lemon juice for canning – It ensures consistent acidity levels for food safety.
- Don’t skip the lemon peel – It adds brightness and depth of flavor.
- Thicken naturally – This recipe doesn’t need added pectin; just cook long enough for the sugars to gel naturally.
- Prep ahead – Pit your cherries the night before and refrigerate, so cooking day goes faster.
- For safe canning – always follow up-to-date, tested guidelines. You can read more about proper home canning safety from the National Center for Home Food Preservation.
How to Use Lemon Cherry Preserves
These preserves are so versatile! Here are a few of my favorite ways to enjoy them:
- Spread on toast, biscuits, or English muffins.
- Swirl into plain Greek yogurt for a fruity breakfast.
- Use as a filling for cakes, pastries, or thumbprint cookies.
- Pair with a cheese board for a sweet-and-savory treat.
- Spoon over cheesecake or vanilla ice cream.
FAQs
Can I use frozen cherries instead of fresh?
Yes! Frozen cherries work well in this recipe. Just make sure they are already pitted and thaw them before starting. Frozen cherries may release more liquid, so you may need to extend the cooking time slightly.
Why do I need to use bottled lemon juice?
Bottled lemon juice has a consistent acidity level, which is important for safe canning. Fresh lemons can vary in acidity, so sticking with bottled ensures your preserves are shelf-stable.
Can I reduce the amount of sugar in this recipe?
It’s not recommended to reduce the sugar when canning preserves, as the sugar helps with both preservation and texture. If you’d like a lower-sugar version, it’s best to look for a recipe specifically tested for low-sugar canning.
How long do homemade preserves last?
When properly processed in a water bath canner and stored in a cool, dark place, these preserves will last up to 12–18 months. Once opened, store in the refrigerator and use within 2–3 weeks.
Other Recipes You’ll Love
- Homemade Tomato Jam – A sweet and savory jam that’s perfect on sandwiches, burgers, or paired with cheese.
- Garden Fresh Salsa with Canning Instructions – A bright, flavorful salsa made from fresh tomatoes and jalapeños, perfect for canning.
- Homemade Salsa Verde – Tangy, zesty, and full of flavor — this verde is a must-have for tacos and nachos.
There’s something so satisfying about capturing the taste of fresh cherries and bright lemon in a jar. These Homemade Lemon Cherry Preserves are bursting with flavor and make the perfect addition to toast, yogurt, or even desserts. With just a few simple ingredients and safe canning practices, you can stock your pantry with a delicious spread that will last all year long. I hope this recipe inspires you to try your hand at homemade preserves and enjoy the rewards of canning season. Happy preserving!
Shop Post

Save Pin For Later