How to Make a Clabber Starter with Raw Milk (and How to Care for it)
Learn how to make a clabber starter from raw milk and keep it thriving with this step-by-step guide. Perfect for cheesemaking, cultured dairy, and traditional cooking.
This post may contain affiliate links. Please read our disclosure policy.

Before cheese cultures were sold in stores and online, there was clabber, a traditional dairy culture made from raw milk. This old-fashioned method of naturally souring milk was once a staple in not only homestead kitchens but all kitchens. It was used to make cheese, cultured cream, buttermilk, butter, and even to leaven baked goods. If you’re passionate about traditional foods or looking to become more self-sufficient, or just want to learn a skill that has long since been forgotten, this post will guide you through making and caring for clabber.
If you have ever wondered how people made cheese and cultured dairy before store-bought starter and commercial cultures, the answer is simple: clabber. This old-fashioned, fermented milk is the original starter culture teeming with natural probiotics and flavor. All it takes is raw milk, time, and a warm space in your kitchen.
In this post, I’ll show you exactly how to make a clabber starter from raw milk and how to keep it healthy so you can use it again and again. Whether you’re getting into cheesemaking, want to experiment with traditional ferments, or are just curious about the process, making clabber starter is a crucial skill in a from-scratch kitchen.
What Is a Clabber Starter?
A clabber starter is a naturally fermented dairy culture made by allowing raw milk to sour and thicken at room temperature. This process happens when the beneficial bacteria naturally present in raw milk begin to multiply, creating a tangy, thickened product known as a clabber. Traditionally, a portion of this clabbered milk was saved and used to inoculate future batches (similar to a sourdough starter used in bread making). Clabber is rich in probiotics and wild cultures. A clabber starter acts as a mesophilic (low-temperature) culture, perfect for making cheeses like cheddar, pepper jack, and cream cheese, or for culturing cream and baking. It’s a simple way to create a reusable, living dairy starter right in your kitchen.
Why Use a Clabber Starter?
- Naturally occurring culture – Made from the wild bacteria in raw milk. There is no need for store-bought cultures.
- Cost-effective – Once established, it’s a free, renewable starter you can use over and over.
- Traditional and sustainable – A method used for generations before commercial cultures ever existed.
- Versatile – Perfect for cheesemaking, cultured cream, buttermilk, baking, and more.
- Probiotic rich – Supports gut health with beneficial bacteria native to your milk and environment.
Equipment
Ingredients Needed to Make a Clabber Starter
- Raw milk
How to Make a Clabber Starter Step by Step
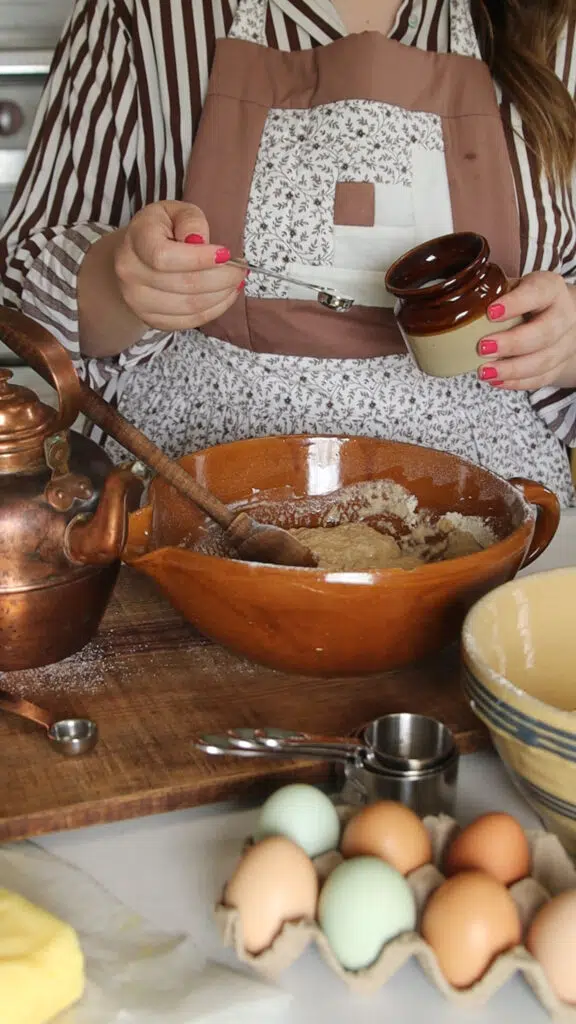
Step 1: Pour Raw Milk Into a Jar
Fill a clean glass jar with fresh raw milk. Leave about 1 inch of headspace at the top to allow for air in the jar. Make sure the milk is as fresh as possible, ideally from the same day or within 24 hours of milking.
Step 2: Cover and Secure
Cover the jar with a loose-fitting lid to keep dust and bugs out while still allowing air in.
Step 3: Let It Sit at Room Temperature
Place the jar in a warm, draft-free spot in your kitchen, ideally between 68°F and 75°F. Let it sit undisturbed for 1 to 5 days, depending on the temperature and milk.
Step 4: Watch for Clabbering
You’ll know your milk has clabbered when it thickens to a yogurt-like consistency and develops a pleasant cheese-like smell. The whey may separate slightly, which is normal.
Tip: If it smells sour but clean like cultured dairy, it’s good. If it smells rotten, yeasty, or moldy, discard and start over.
Step 5: Store Your Starter
Once fully clabbered, it is ready to use. This clabbered milk is now your clabber starter and can be used to culture new batches of milk or make cheese and other dairy products. If you do not plan on using it within 3-4 hours, store in the refrigerator to slow the fermenting process.

How to Care For a Clabber Starter
Weekly Feeding (if not in daily use):
- Remove 1/2 teaspoon of your clabber starter.
- Mix it into about 16 ounces or 1 pint of fresh raw milk in a clean jar.
- Let this new batch sit at room temperature until it clabbers (1–3 days, depending on room temperature).
- Store in the fridge and discard the old batch if not needed.
If You Use It Regularly:
- Always save a 1/2 teaspoon from your clabber to inoculate the next 16-ounce jar of fresh milk.
- Refresh every 24 hours for best results (or when thick). The longer you go without refreshing, the more fermented your clabber will be, which can alter the taste of your recipes.
Storage Tips:
- Keep your clabber starter in a sealed glass container in the fridge when not in use.
- Change containers or wash the jar every couple of days to prevent buildup or contamination when in regular use.
Signs of a Healthy Clabber Starter:
- Creamy texture, with some whey separation.
- Mildly tangy, fermented dairy smell. (Should smell cheesy.)
- No mold, dark discoloration, or foul odor.
When to Toss It and Start Over:
- Visible mold (pink, blue, green, black, or fuzzy).
- Strong off-smell (rotten eggs, alcohol, mustiness).
- Unusual sliminess or stringy texture.
From Raw Milk to Clabber – Video Guide
FAQs
Can I use pasteurized milk to make a clabber starter?
No, only raw milk contains the natural bacteria needed for clabbering. Pasteurization destroys those microbes, so the milk will spoil instead of fermenting properly.
How long does it take for milk to clabber?
It usually takes 1 to 7 days, depending on the temperature, milk freshness, and environment. Warmer rooms (around 72–75°F) clabber faster, while cooler temperatures may take longer.
What should clabber smell like?
Clabber should smell pleasantly tangy, a bit like sour cream or yogurt. If it smells rotten, musty, yeasty, or like spoiled milk, discard and try again with fresh raw milk.
What if my clabber has separated?
A little whey (the clear yellowish liquid) separating from the curd is totally normal! Just stir it back in before using, or strain it off for a thicker texture.
Can I use my clabber starter for cheesemaking?
Yes! Clabber acts as a natural mesophilic starter culture. It’s perfect for raw milk cheeses like cheddar, pepper jack, cream cheese, or even cultured butter.
Do I need to feed my clabber starter like sourdough?
Not as often. If you’re not using it regularly, feed it about once a week by mixing a spoonful into fresh raw milk and letting it ferment at room temperature.
Why is the top of my clabber starter yellow and the bottom white?
This is perfectly normal. The yellow on top is the cream that has separated from the milk. You can either use the clabbered cream or you can scrape it off and discard it.
Shop Post

Save Post For Later